TL;DR: Key Takeaways
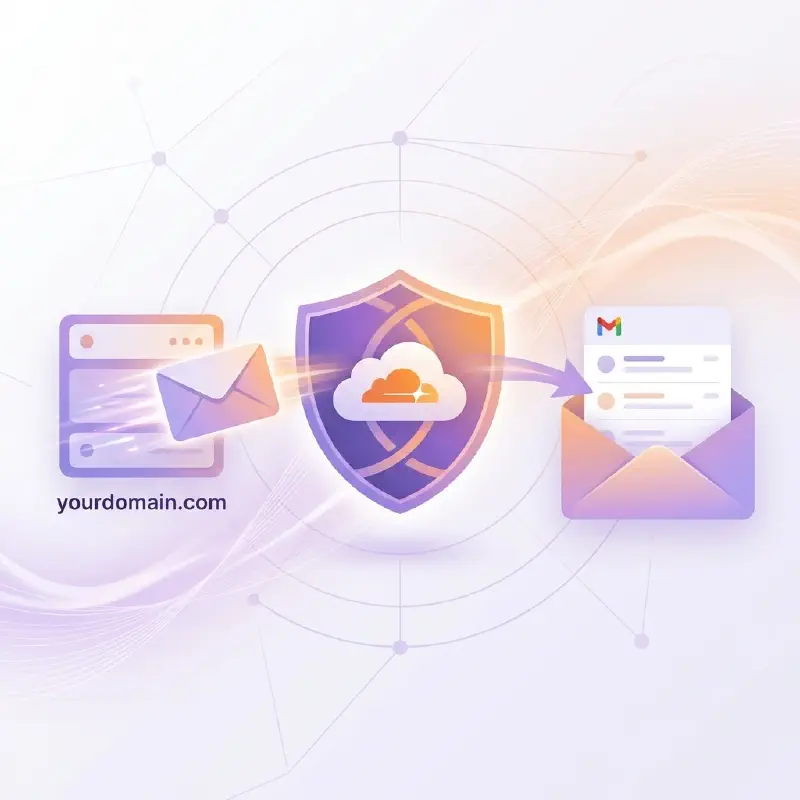
- Cloudflare Email Routing lets you receive emails through addresses like
contact@yourdomain.comfor free. - Receive emails in your existing Gmail, and send replies from your custom domain using Gmail’s “Send As” feature.
- Setup takes under 5 minutes—no server or paid subscription required.
Table of contents
Introduction: Solving the Post-Domain Email Dilemma
The moment you purchase your own domain, there’s one thing almost everyone wants to do:
“Finally, I can use a custom email like
contact@dynzen.com!”
Google and Microsoft have solid paid options, but I decided to start with Cloudflare’s free email forwarding feature first. It’s a way to send and receive email through your own domain for free.
Technical Profile: How Email Forwarding Works and Why Cloudflare?
Email forwarding is exactly what it sounds like—a mail relay service.
- Emails to
contact@yourdomain.com→ automatically forwarded toyourpersonal@gmail.com - No need to run your own mail server
- Keep using Gmail/Outlook as usual
💡 Key Point: Receiving mail is free, and sending is possible via Gmail settings!
Why Cloudflare?
There are several email forwarding options, but here’s why Cloudflare Email Routing stands out:
| Benefit | Description |
|---|---|
| Completely Free | No hidden costs, unlimited forwarding |
| Strong Security | Built-in phishing detection and spam filtering |
| Easy Setup | Automatic DNS record configuration |
| Catch-All Support | Receive all emails sent to *@yourdomain.com |
If Cloudflare already manages your DNS, it’s the most seamless choice.
Here’s the setup — it takes about 5 minutes.
Practical Guide: Establishing Free Email in Under 5 Minutes
Prerequisites
- Cloudflare account (free)
- Domain with DNS managed by Cloudflare
- Gmail (or another email account) for receiving
Enable Email Routing in Cloudflare Dashboard
- Log in to Cloudflare Dashboard
- Select your domain
- In the left menu, click Email > Email Routing
- Click Get Started
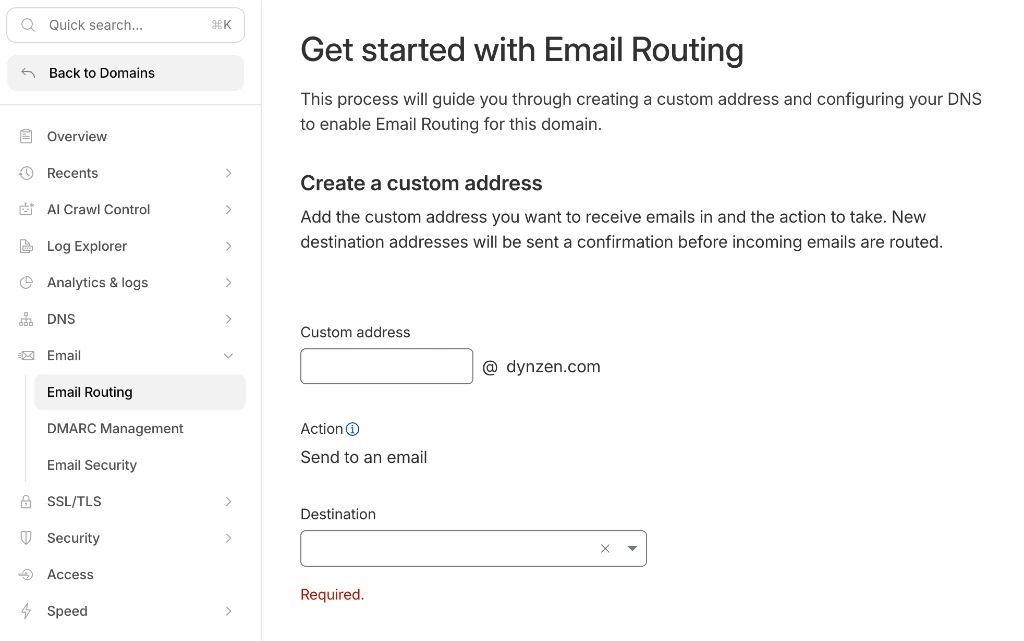 Email Routing configuration screen in Cloudflare dashboard
Create Your Custom Email Address
- In Custom address, enter the prefix you want (e.g.,
contact,hello,info) - Under Action, select “Send to an email”
- In Destination, enter your existing email (e.g.,
myemail@gmail.com) - Click Create and Continue
Verify Destination Email
Cloudflare sends a verification email to your Gmail:
- Check your Gmail for the Cloudflare verification email
- Enter the verification code or click the link
- Verification complete!
Automatic DNS Configuration
This is the easiest part. No manual typing required:
- On the Configure your DNS screen, click Add Records and enable.
- Cloudflare automatically sets up your Email Delivery Address (MX record) and Security Policy (SPF record).
- You’re done!
💡 What is an MX Record?: Think of it as a “Post Office Address” or a “Signpost” for your domain. It tells the internet where to deliver emails sent to you. Cloudflare handles this setup automatically so you don’t have to worry about the technical details.
⚠️ Note: If you have existing MX records, there might be conflicts. Cloudflare may ask you to remove them first.
🚨 Important: If you send an email from your destination Gmail to your new custom domain address (
contact@yourdomain.com), it won’t be received. This is a structural limitation of email forwarding—since the sender and recipient ultimately resolve to the same mailbox (the forwarding destination), the system blocks it to prevent infinite loops. When testing, use a different email account!
Advanced Configuration: Enabling Reply-As Functionality in Gmail
With inbound routing working, next up: sending replies from your custom domain.
Generate Google App Password
- Go to Google Account
- Navigate to Security > Enable 2-Step Verification (required)
- Generate an App Password (App: Mail, Device: Other)
- Copy the 16-character password
Add “Send As” Address in Gmail
- Open Gmail > ⚙️ Settings > See all settings
- Go to Accounts and Import tab
- Under “Send mail as,” click Add another email address
- Enter the following:
- Name: Display name
- Email:
contact@yourdomain.com - SMTP Server:
smtp.gmail.com - Port:
587 - Username: Your Gmail address
- Password: The app password from Step 1
- Click Add Account and verify via email
Set as Default Sending Address
After setup, select Make Default to send all emails from your domain address.
📝 Note: Emails sent this way may show a “via gmail.com” notice to recipients. Removing this entirely requires Google Workspace.
Conclusion: Evaluating Limitations and Paid Alternatives
While free and powerful, email forwarding has a few trade-offs compared to paid professional suites:
- Manual Reply Setup: While receiving is automatic, sending replies from your custom domain requires manual SMTP configuration.
- “via gmail.com” Tag: As mentioned above, this can show up on outgoing mail.
- No Dedicated Inbox: You don’t get a separate mailbox; all emails are mixed into your existing Gmail account.
- Spam Filter Sensitivities: Due to the forwarding mechanism, some legitimate emails might occasionally land in the spam folder.
🛠️ Verdict: It’s perfect for personal branding and blogs. However, for large-scale businesses where extreme reliability is key, a paid service like Google Workspace is still the gold standard. Keep in mind that these paid plans also include cloud storage (Drive/OneDrive), productivity apps, and online meeting tools as part of the package!
Free Forwarding vs. Paid Productivity Suites
Google Workspace and Microsoft 365 offer much more than just a way to send and receive emails; they provide a complete productivity ecosystem.
- Custom Domain Email: Dedicated inboxes and high delivery reputation.
- Collaboration Tools: Cloud storage (Drive/OneDrive) and document editing suites.
- Communication Platforms: Google Meet, Microsoft Teams, and more.
That bundle makes sense for businesses that need real collaboration tools and storage. For personal bloggers like me who just want a custom domain address for email, Cloudflare’s free forwarding is enough.
Conclusion: Zero Cost, Full Branding
With Cloudflare Email Routing, here’s what you get in 5 minutes:
- Receive emails with your own domain
- Convenient management via existing Gmail
- Zero server costs
Worth considering next: newsletter integrations or adding more addresses (like support@, sales@).